How to Replace Your RV’s Roof Mounted A/C Gasket?
Got water leaks or strange sounds when it rains? Chances are your RV air conditioner gasket needs replacing.
The RV A/C gasket forms a watertight seal between your rooftop AC unit and the roof of your RV. Over time, it may crack, compress, or dry out—leading to leaks and decreased cooling efficiency.
A Step-by-Step Guide to Replacing RV A/C Gasket and Fixing RV Roof Leaks
🪛 Step 1: Turn Off the Power
Before doing any work on your RV's AC system, make sure to disconnect the power supply.
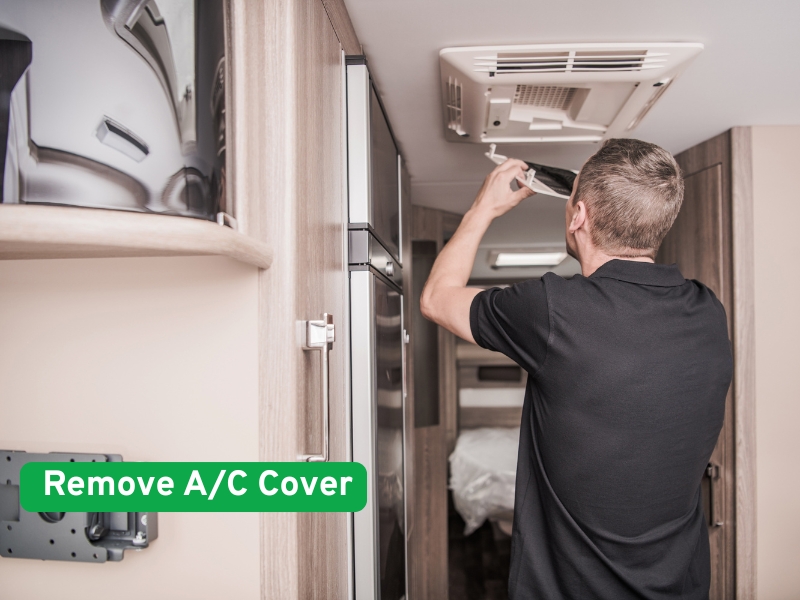
🌟 Step 2: Remove the Interior AC Cover
Inside your RV, locate the RV AC unit’s ceiling assembly. Remove the plastic cover and mounting bolts that hold the unit in place.
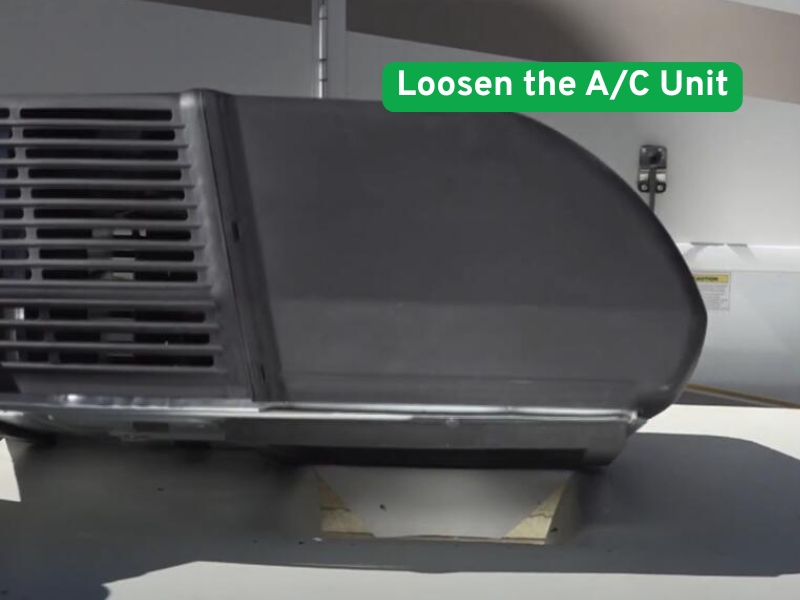
🧊 Step 3. Loosen the AC Unit from the Roof
Head up to the trailer roof and gently lift the rooftop AC unit with the bolts removed.
Friendly Notice: Take care not to damage the wiring.
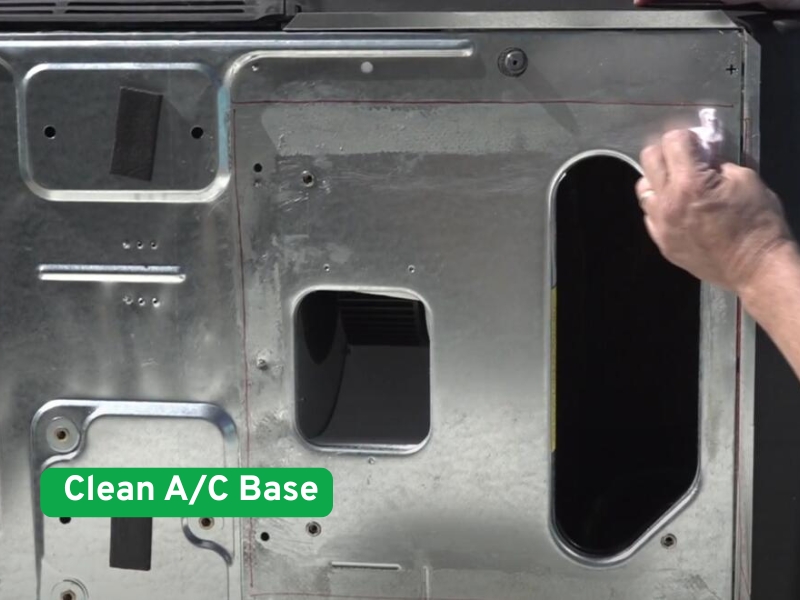
🧰 Step 4. Remove the Old Gasket
Once the AC is lifted, scrape off the old gasket from both the roof and the base of the AC unit. Clean the surface thoroughly with rubbing alcohol or a mild cleaner to remove any residue.
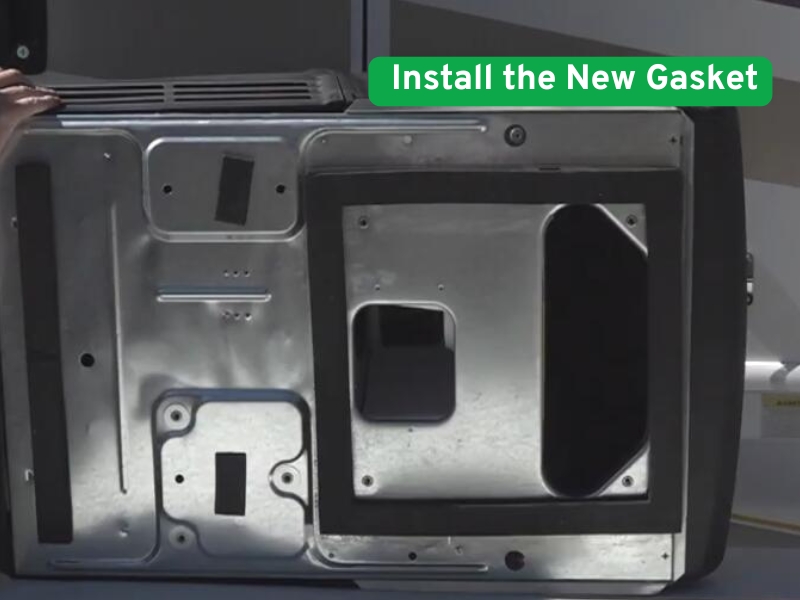
🔄 Step 5. Install the New Gasket
Position the new gasket evenly on the base of the AC unit. Peel and stick it in place. Make sure the gasket lines up properly with the airflow opening.
🧑🔧 Step 6: Reposition the AC Unit
Lower the AC unit onto the gasket, making sure everything lines up and the gasket stays in position.
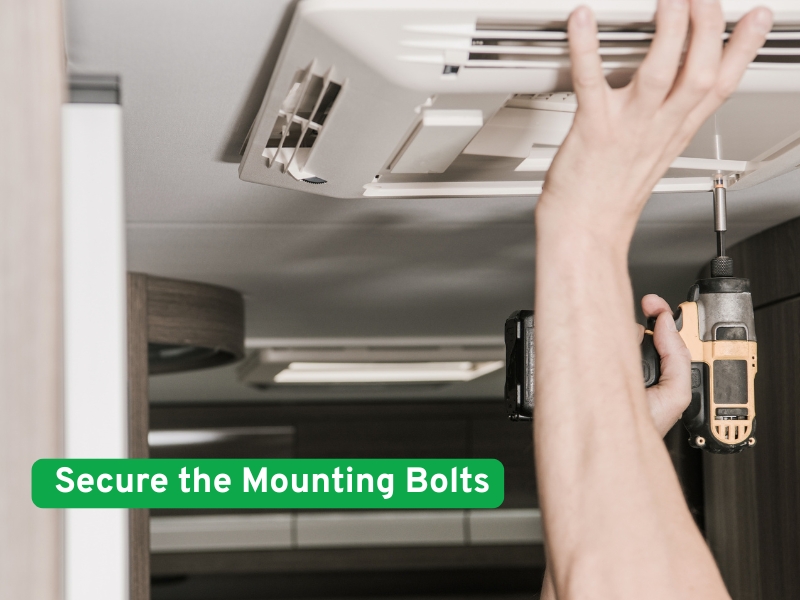
☔ Step 7. Secure the Mounting Bolts
Reinstall the bolts inside the RV to compress the gasket evenly. Don’t overtighten—too much pressure can cause leaks.
✅ Step 8: Reattach the Interior Cover and Restore Power
Once everything is secure, replace the interior plastic cover and restore power to your RV. Turn on the AC to test for proper operation.
🛒❤️❤️❤️
Ready to Replace Yours RV A/C Gasket?
Available in 14” x 14” and 11” x 14” sizes.
