Step 1: Prepare Installation Opening
Before cutting an opening hole, ensure the surface is level and flat to prevent rainwater leakage.
Next, make an opening hole in the roof with dimensions of 360 x 360 mm (14 inches).

Step 2: Apply Sealant
Paste waterproof tape on roof surface for added protection against water leakage.
Apply a double-sided sealant between the mounting flange of our fan base and the roof surface(It's up to you whether to proceed with this step).

Apply a double-sided sealant between the mounting flange of our fan base and the roof surface(It's up to you whether to proceed with this step).

Step 3: Secure Ventilation Fan
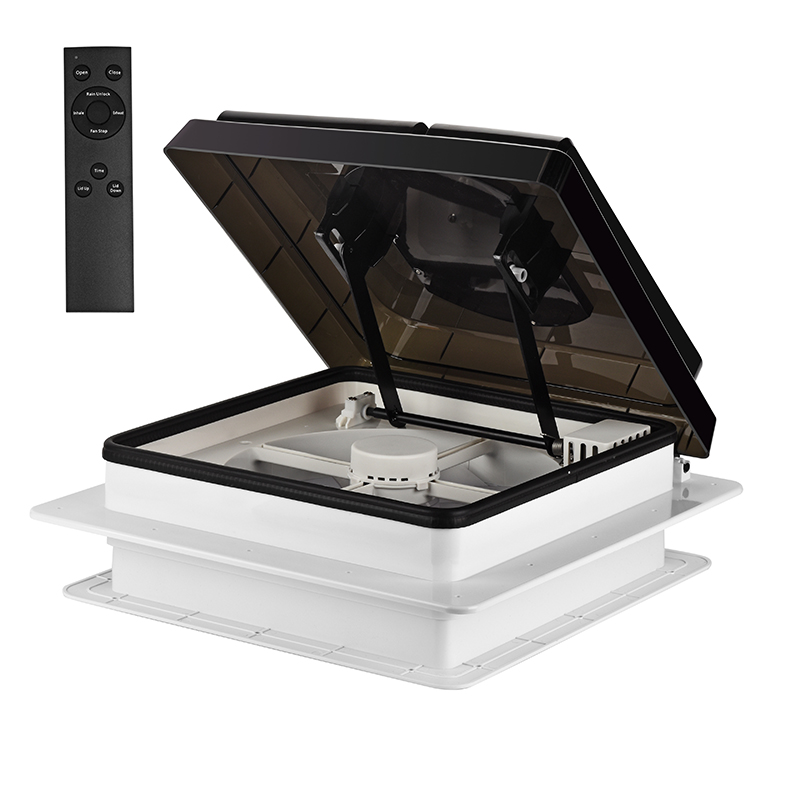
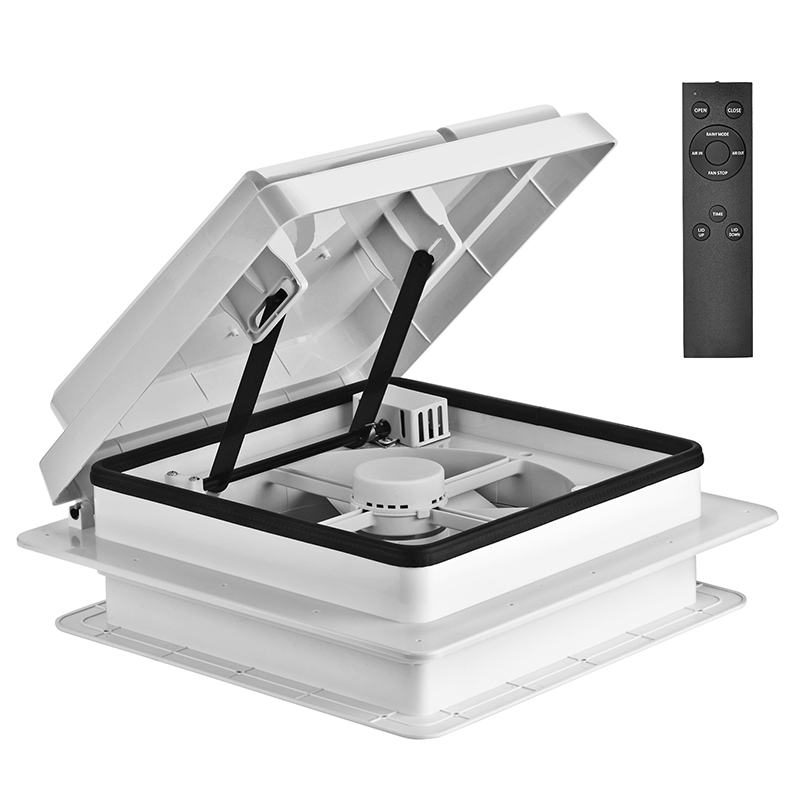
Friendly Notice: Lid opending is facing rear of RV!
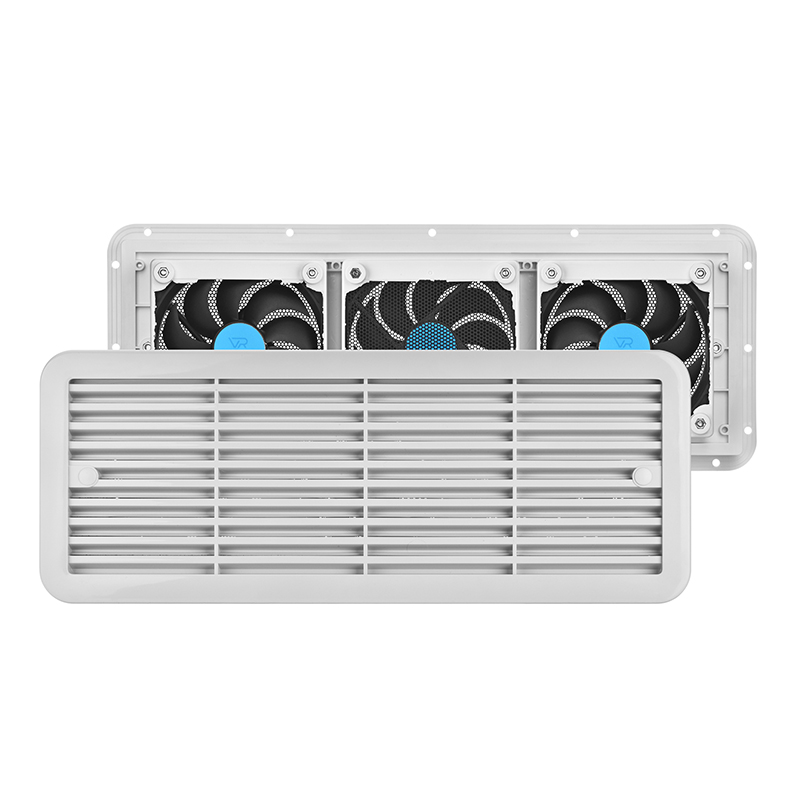
Remove the trim and insert the fan into the mounting hole on the roof.

Press tightly and fix the fan with screws.

Step 4: Apply Sealant Again
Apply sufficient sealant on the roof where the fan base mounting flange meets the roof to prevent rainwater leakage.
Friendly Notice: If the roof is a sandwich structure, please add a wooden strip in the middle to reduce vibration at the opening.

Step 5: Connect Power Cable for testing
Connect the fan power cable to 12V power source in RV.
Ensure the red wire is connected to the positive pole and the black wire to the negative pole.
Step 6: Install Interior Trim
Insert the fan trim into the mounting hole.
Fasten the trim securely with screws and plug in the knob control.