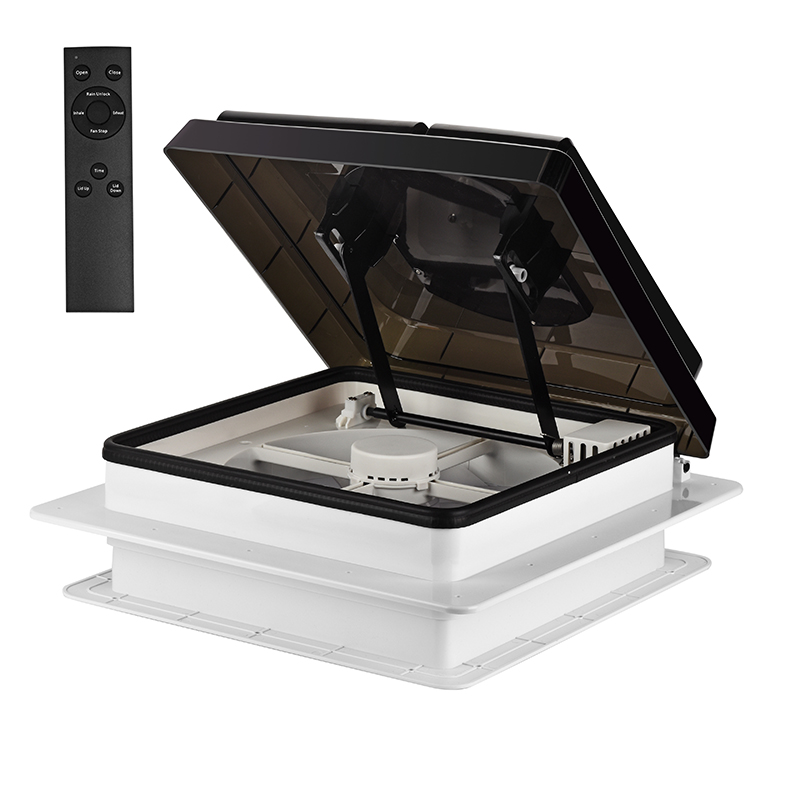
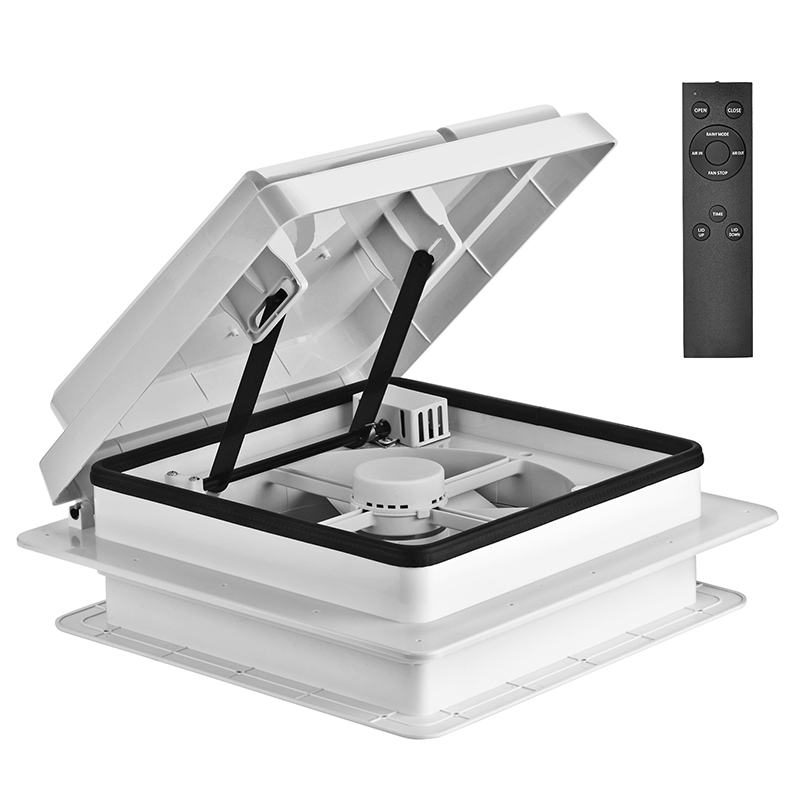
Friendly Notice
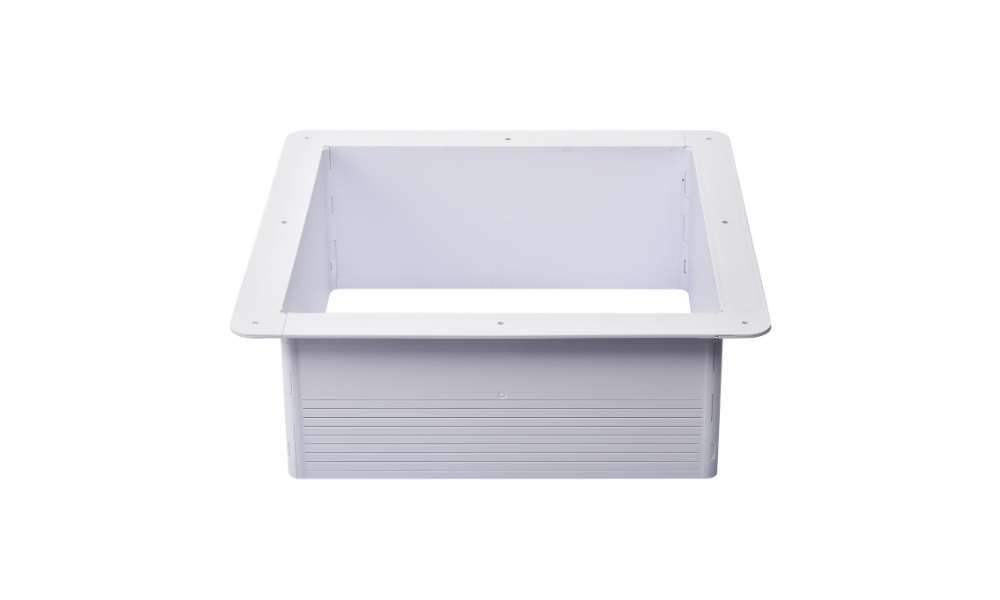
1. Assembly of 4 trim pieces is required.
2. If the trim pieces are too large, you may adjust them to the desired height with a saw to better fit your RV roof.
Step 1:
Upon opening the box, arrange the 4 trim pieces into a square shape with the striped side facing outward.
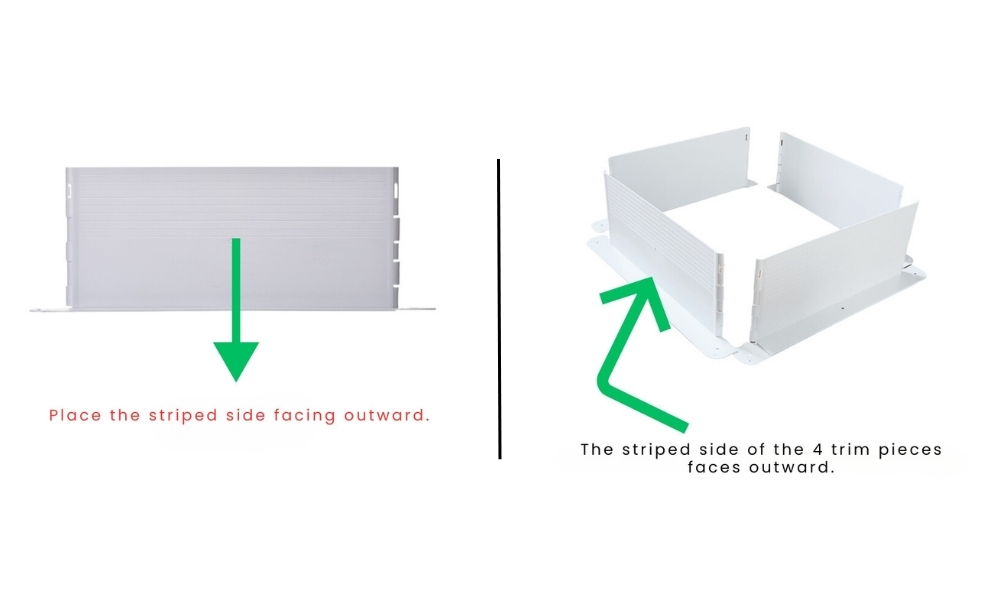
Step 2
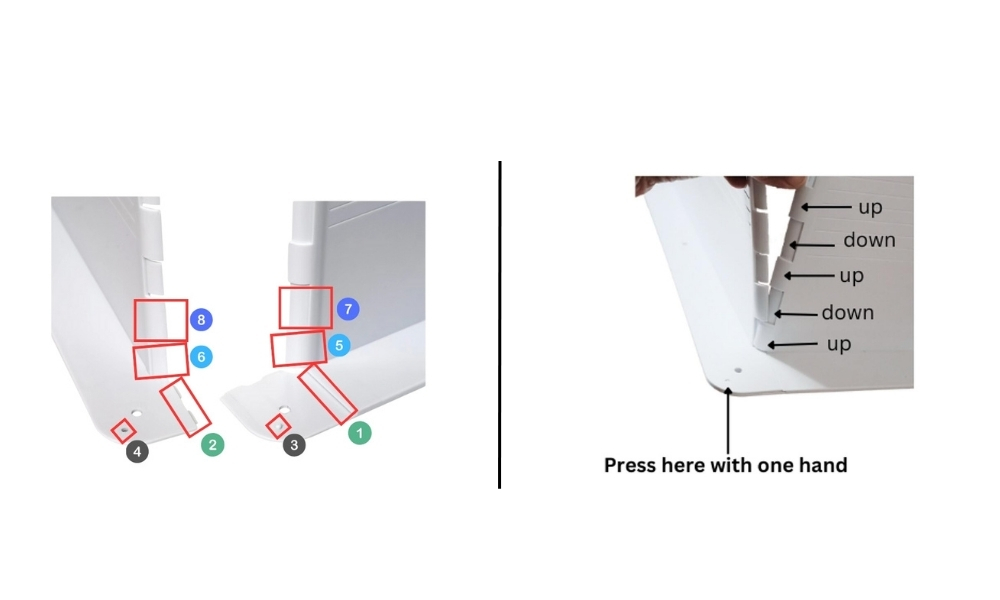
Pick up two of the trim pieces. Insert position 2 into position 1, then place the bottom of position 4 on top of position 3 to interlock them.
Next, align position 5 over position 6 to secure them together. Then, secure position 8 over position 7, and continue assembling the remaining parts accordingly.
Note: If any piece doesn’t interlock correctly during assembly, don't worry. Simply detach the pieces and try again to achieve a proper fit.
Step 3
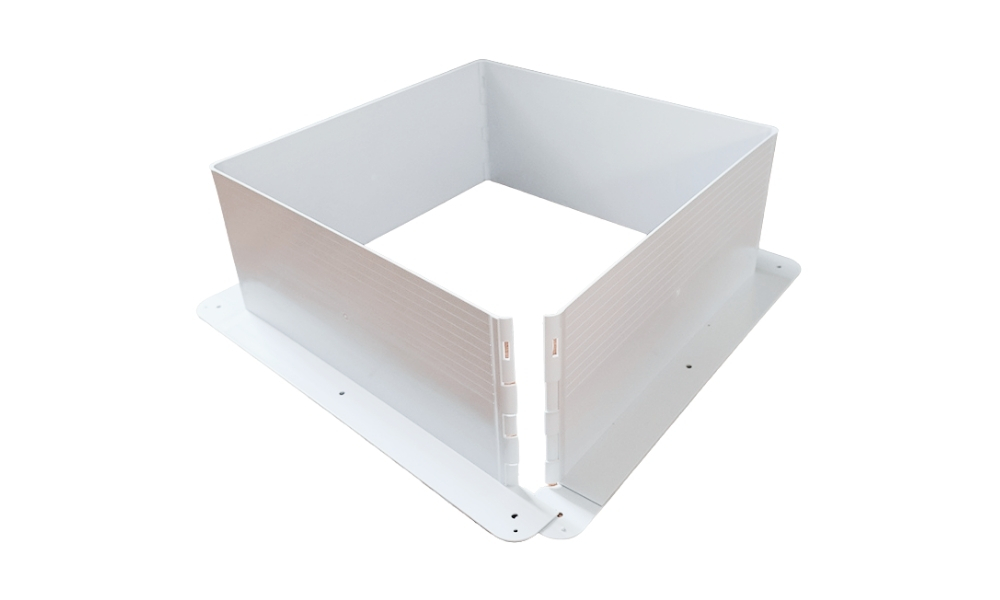
After assembling the first 2 trim pieces, repeat the same method to continue assembling the third and fourth piece.
Step 4
After assembling the fourth trim piece, inspect and adjust the catches of each joint to ensure they are securely fastened.
