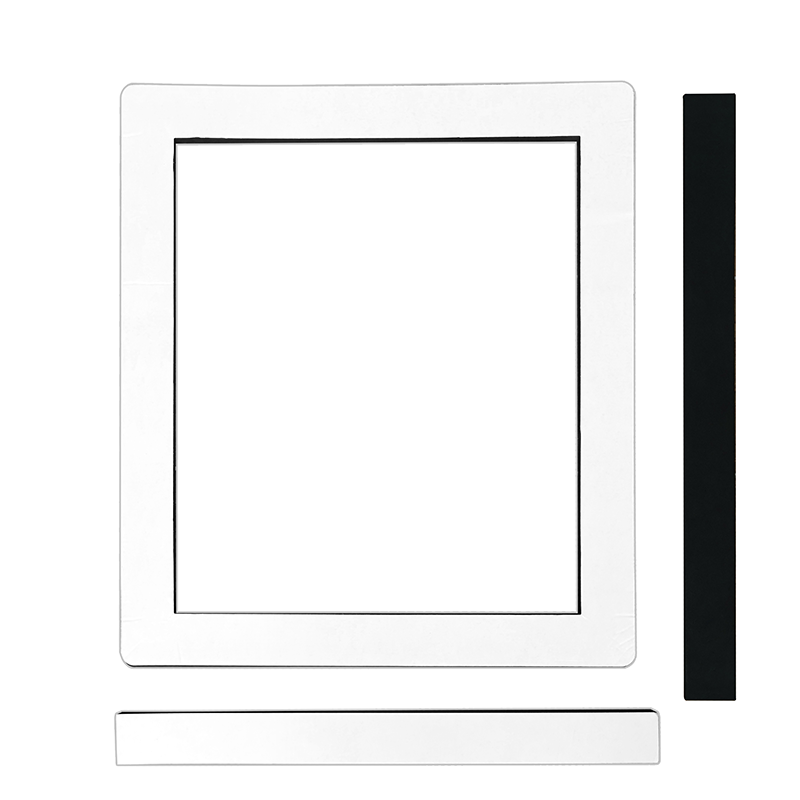
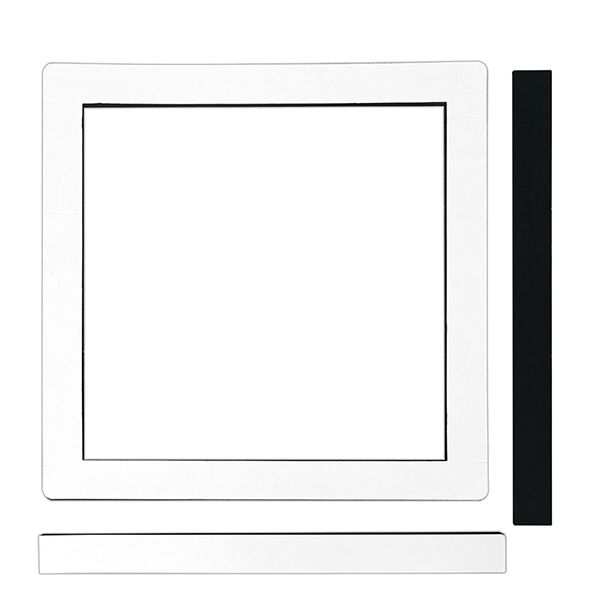
The foam block kit is intended for use on installations where the vehicle roof surface is extremely smooth and with normal unit gasket tension, the ac may still be able to shift position. Foam block kits act as stabilizers around the unit and reducing unwanted movement.
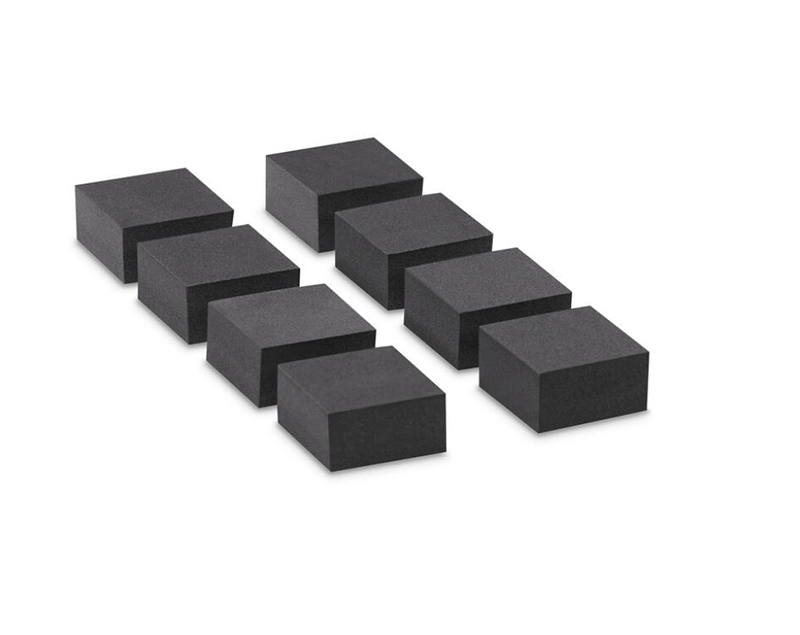
👉 What You Will Need?
• EcoSynic RV AC gasket kit(One-piece Design)
• Sharp knife or scissors
• Measuring tool✅ Step-by-Step DIY Guide
Step 1: Measure the Installation Area
Carefully measure the gaps around your RV air conditioner where movement may occur. Focus on areas between the A/C unit and the roof opening or support frame.Step 2: Cut the Foam Material
Using the EcoSynic gasket strip or EPDM sponge rubber pad, cut foam pieces to match the measured dimensions.
Make sure the foam blocks are:
• The foam blocks should be thick enough to provide proper support, while remaining slightly lower than the main A/C gasket thickness to ensure correct compression and sealing.
• Not overly tight, to avoid excessive pressure on the unitStep 3: Position the Foam Blocks
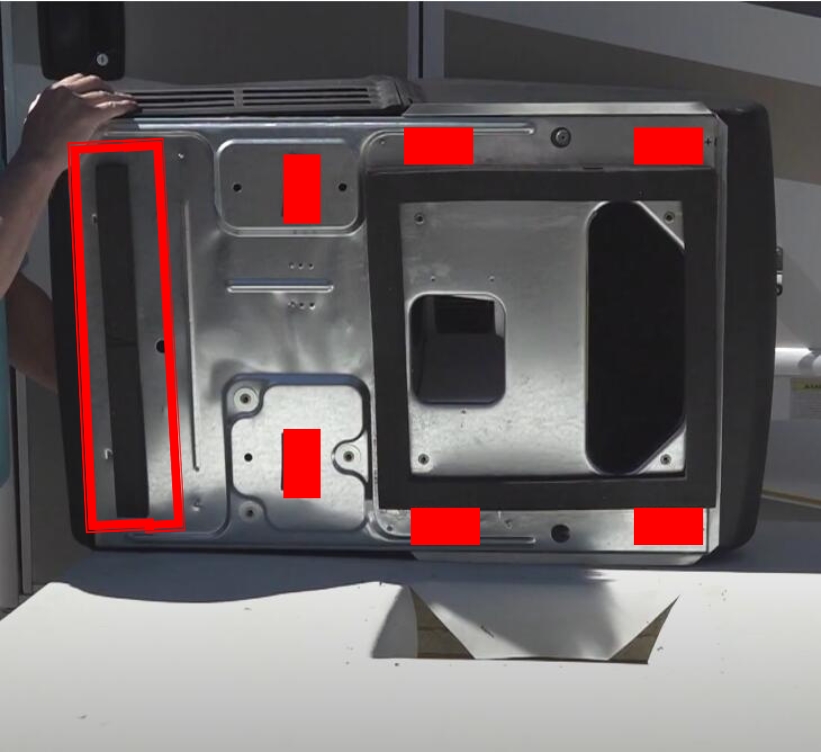
Peel and stick, and place the foam blocks(The red section indicates the position where the block kit can be attached). After placing the A/C unit back into position, pls remember to check:
• Stability (reduced movement)
• Even pressure distribution
Adjust foam size or placement if necessary.
👍👍👍 Anyway, creating a DIY RV A/C foam block kit using an EcoSynic RV AC gasket strip or EPDM sponge rubber pad is a simple and effective way to improve unit stability.